Focus Stacked 14 images _RLC1710-to-1723

This photo was taken 22 May 2018, using:
Nikon D3x
Nikon AF-Nikkor 300mm f/4D
f/13.0
1/5sec (tripod, remote shutter release and Mirror Up Mode)
ISO 100
4,181?K
.NEF (Raw Image) with Adobe RGB Color Space
Manual Focus
Natural window light
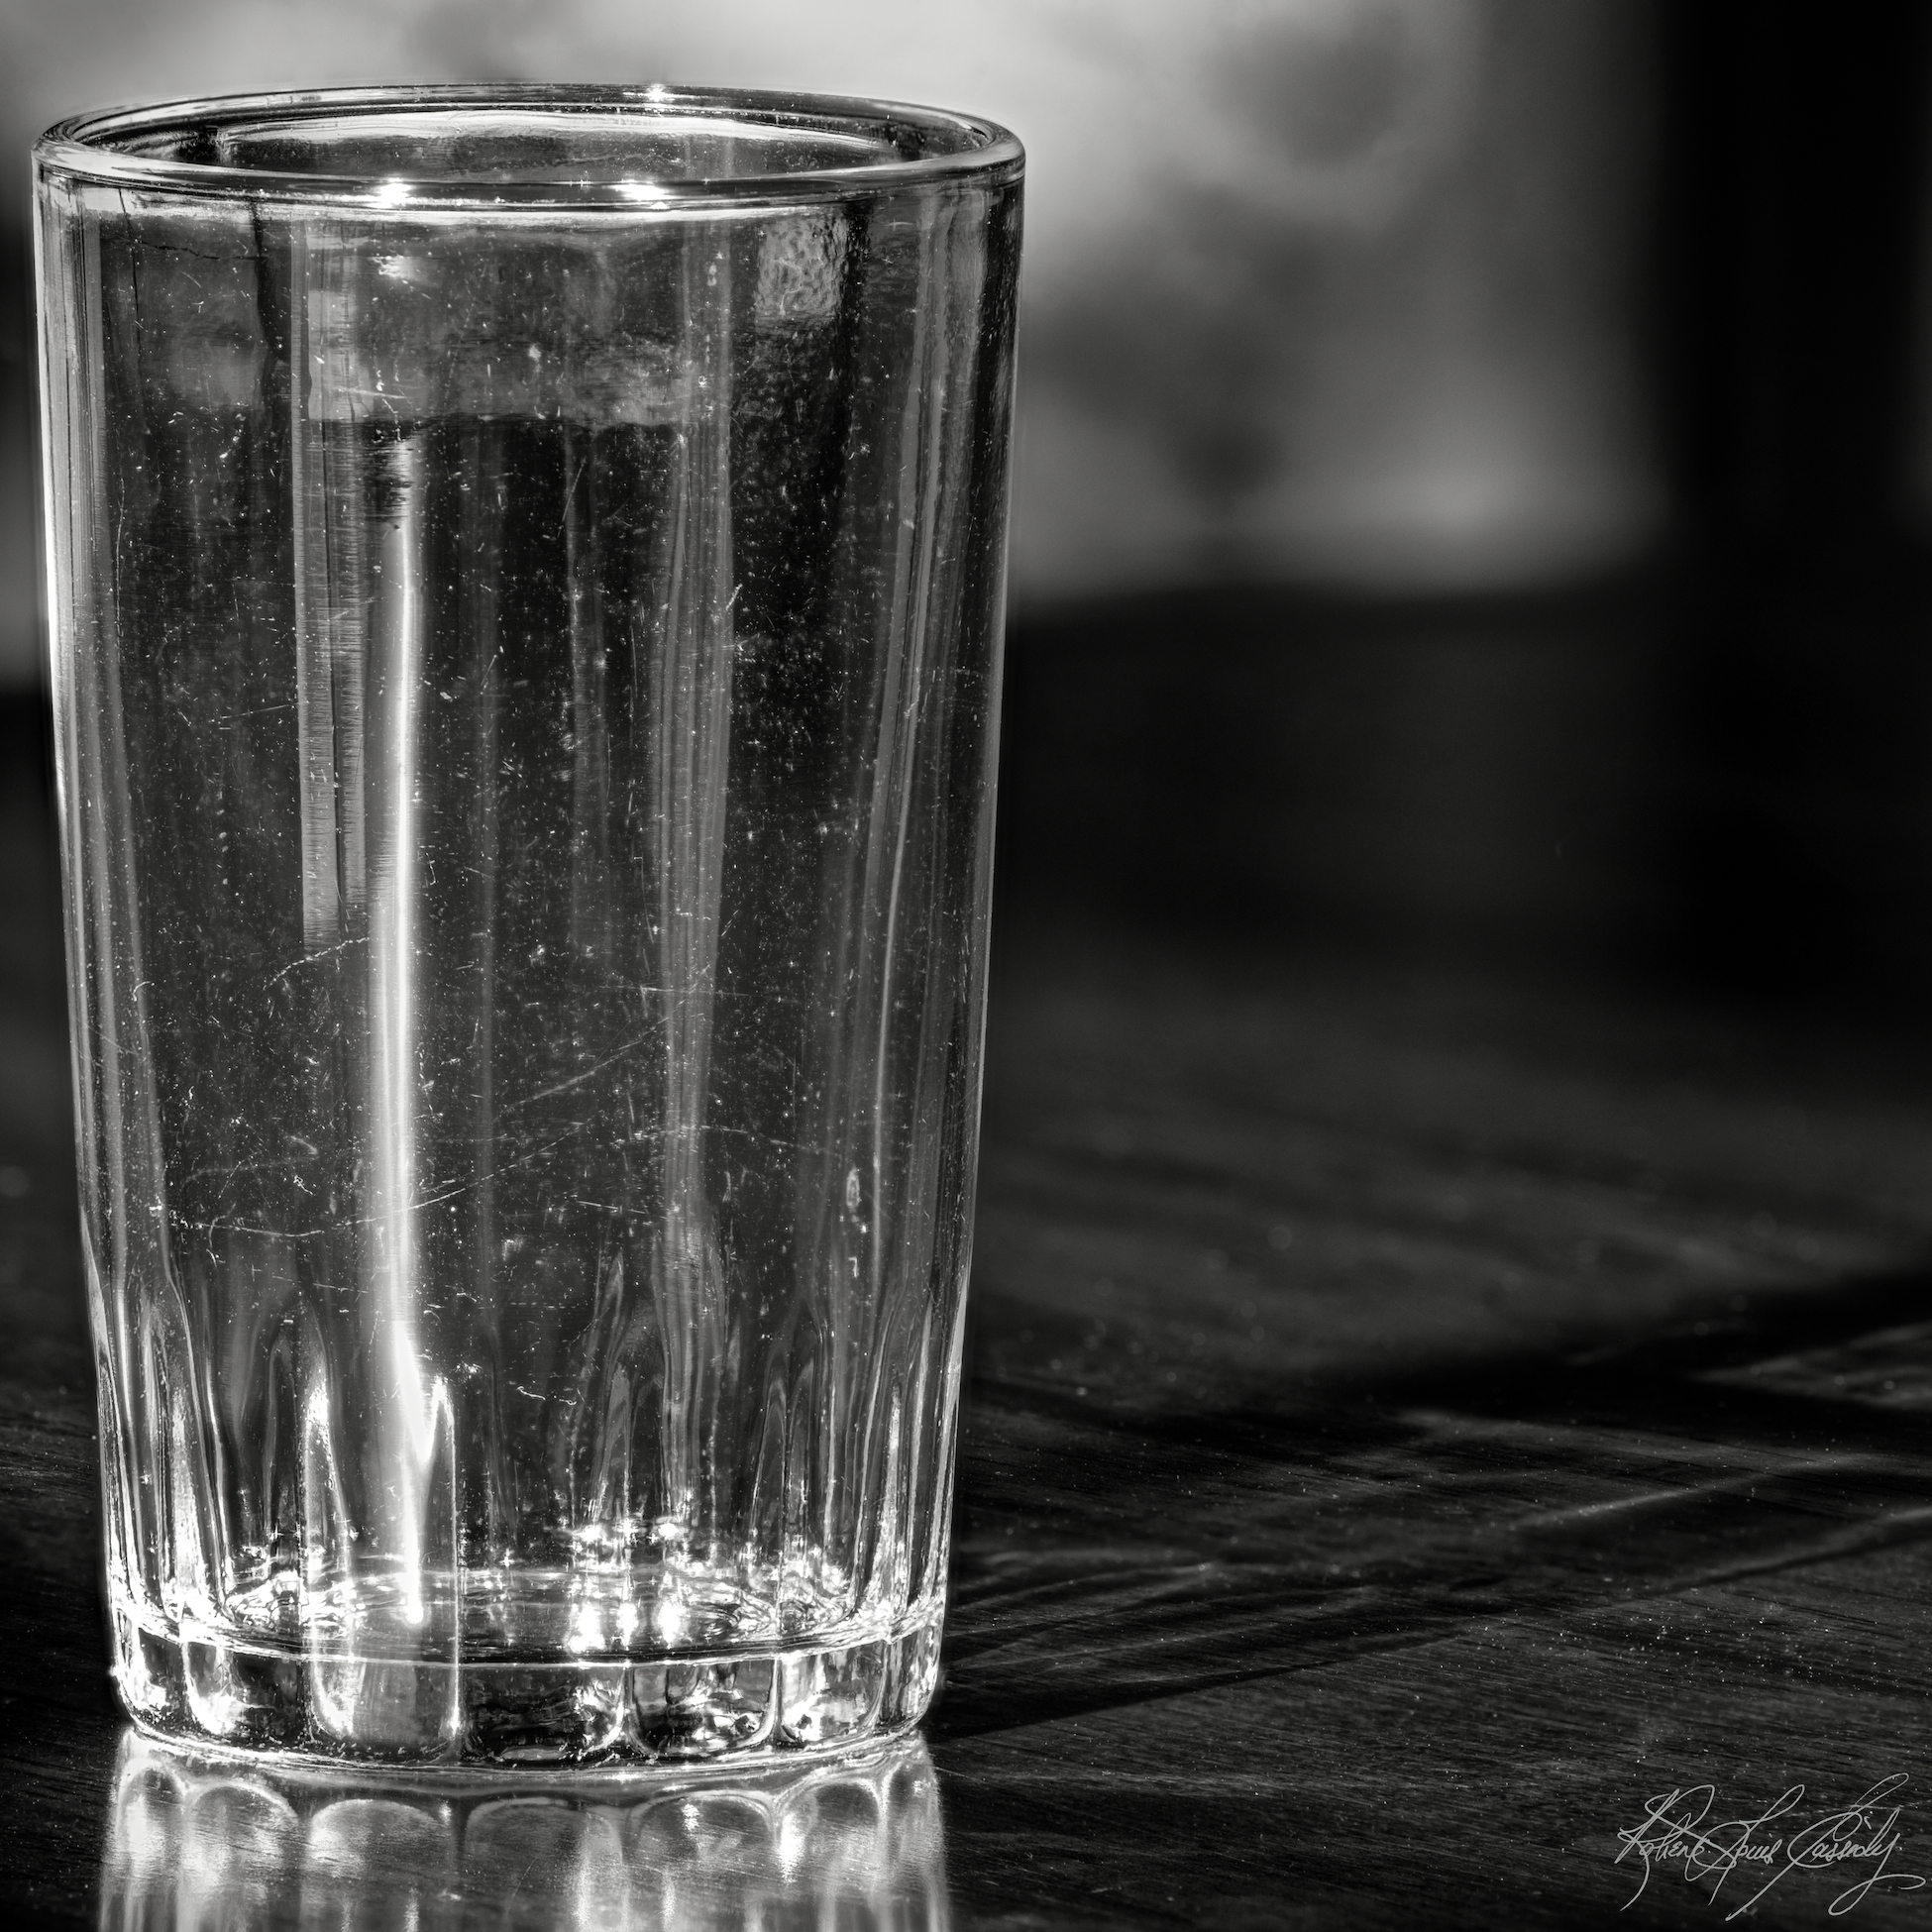
Rather than shooting with a macro lens, I decided I wanted to try using a telephoto lens. I started with a 500mm, but I ended up across the room. I decided to try the Nikon AF-Nikkor 300mm, because it is a very sharp lens and I could achieve Bokeh effects, in the background.
This image is the result of a focus stack of 8 images. I cropped the resulting 6,048px X 4,032px image to 3,900px X 3,900px, then converted it to a monochrome. This resulted in a 9.1 MB jpeg image. The photo you see here is twice the size of the actual glass.
This seems to be a fairly old glass. I bought it at some second hand shop only to photograph. I do not use it for anything else.


Yesterday, I was very frustrated that I could not combine images that were made whilst focusing on different points of a subject and exposing for outside, as well as indoors, though the Focal Plane remained constant. The combined image resulted in one that had a slightly shifted or shadowed ghost image. That frustration made me determined to explore Focus Stacking more. However, I would like to eventually combine the effects of Focus Stacking and High Dynamic Range image processing.
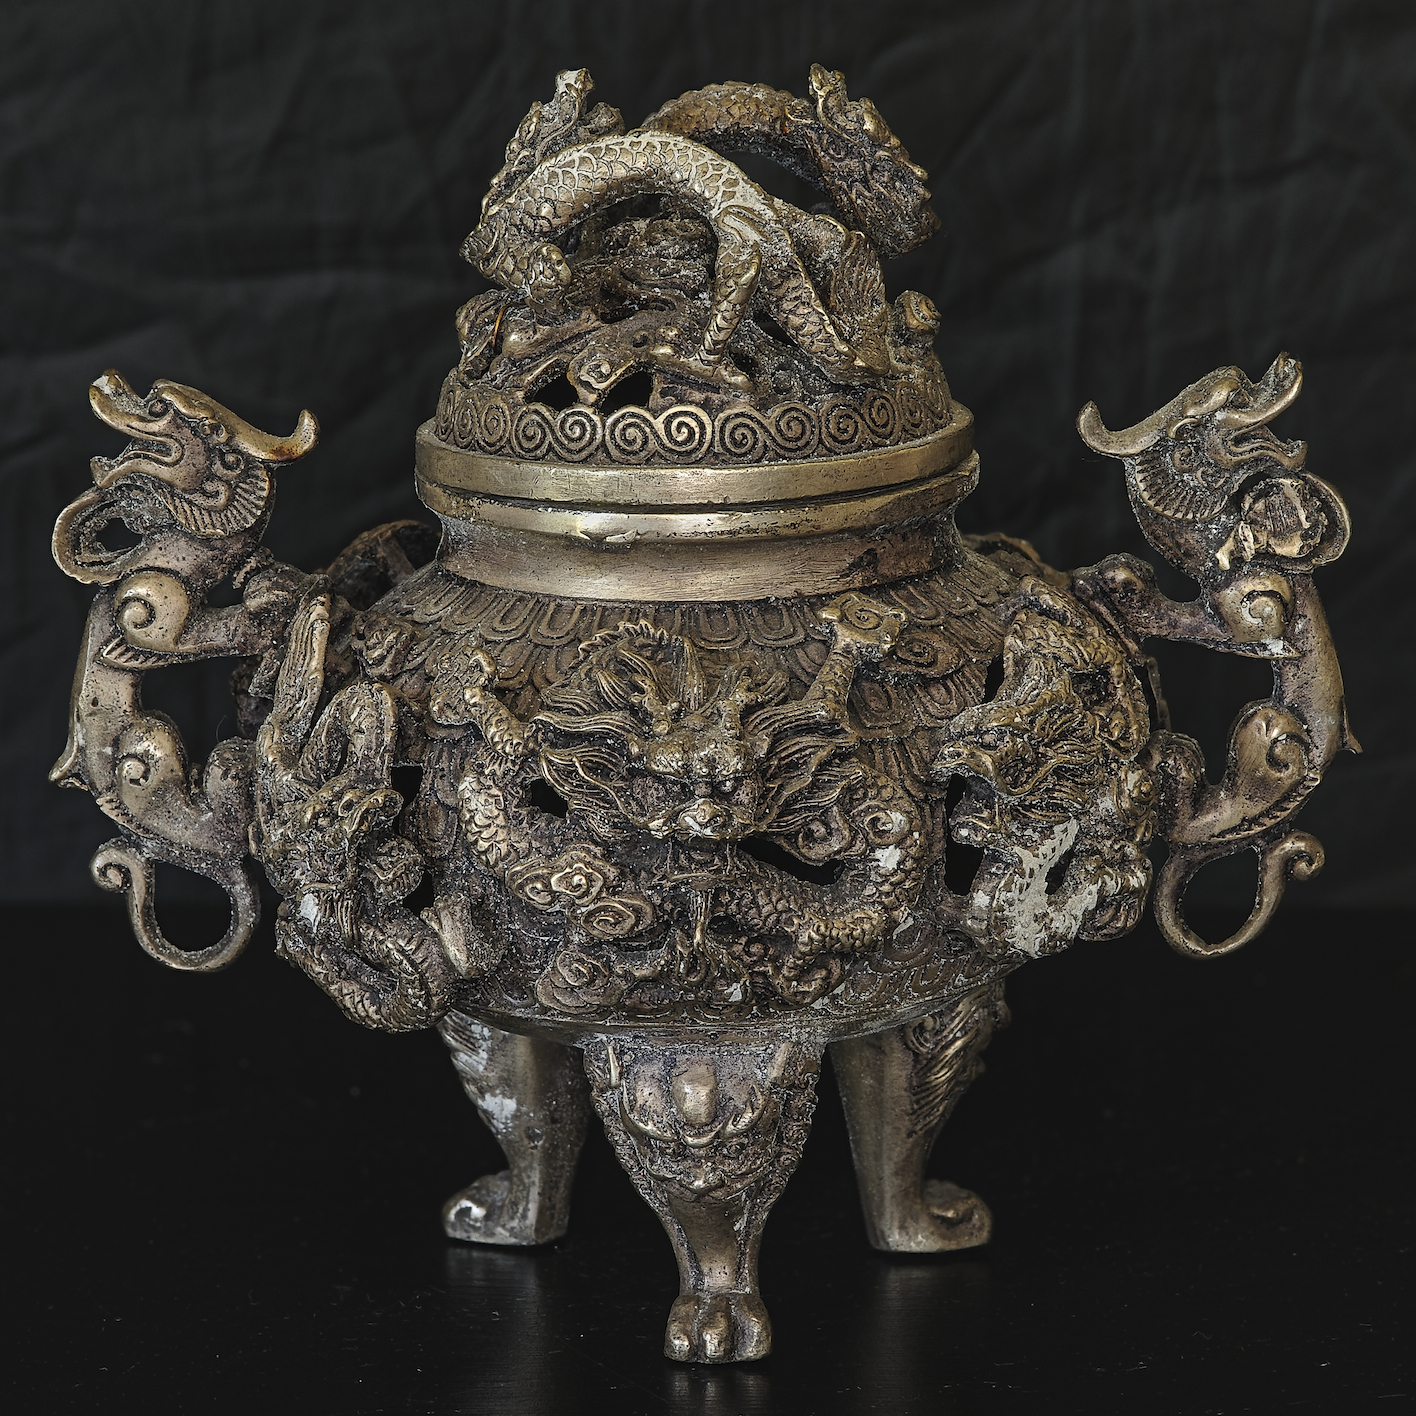
Wikipedia describes Focus Stacking as a processing technique that combines multiple images taken at different focus distances to give a resulting image a greater depth of field (DOF) than any of the individual source images. Focus stacking can be used in any situation where individual images have a very shallow depth of field, especially in Macro-photography. How I achieved the above image was not difficult, just methodical. I used a Nikon D3 with a Micro-Nikkor 105mm f/2.8D lens, a light source, with the camera set at 1 EV under 200 (100 ISO), Shutter Speed 1 second and Aperture f/14. The Chinese incense pot was located approximately 91 centimetres from the Focal Plane. The Focal Plane and Exposure never changed, which differentiates from High Dynamic Range (HDR) photography, with over and under Exposure Values. I mounted the camera onto a Manfrotto 161 Mk2B tripod with a 400 Geared Head, so it was very stable. I used a Remote Release and Mirror Up Mode to eliminate any possible camera shake. My light source was the Nikon R1C1 Close-up Light Kit and four SB-R200 Speedlights mounted on a ring attached to the front of the lens. Once the weight of the R1C1 Kit was added, I had to slightly adjust the tilt of the camera and lens assembly upward. The next task was to focus on the dragon’s nose, then the front leg, change focus to a point a little further back, releasing the shutter, again and again. I made ten images, each with the focus adjusted from front to rear of the Chinese incense pot. I used an image stacking program to align and blend the images into a TIF, then made minor adjustments in Lightroom 5, to get the above image.
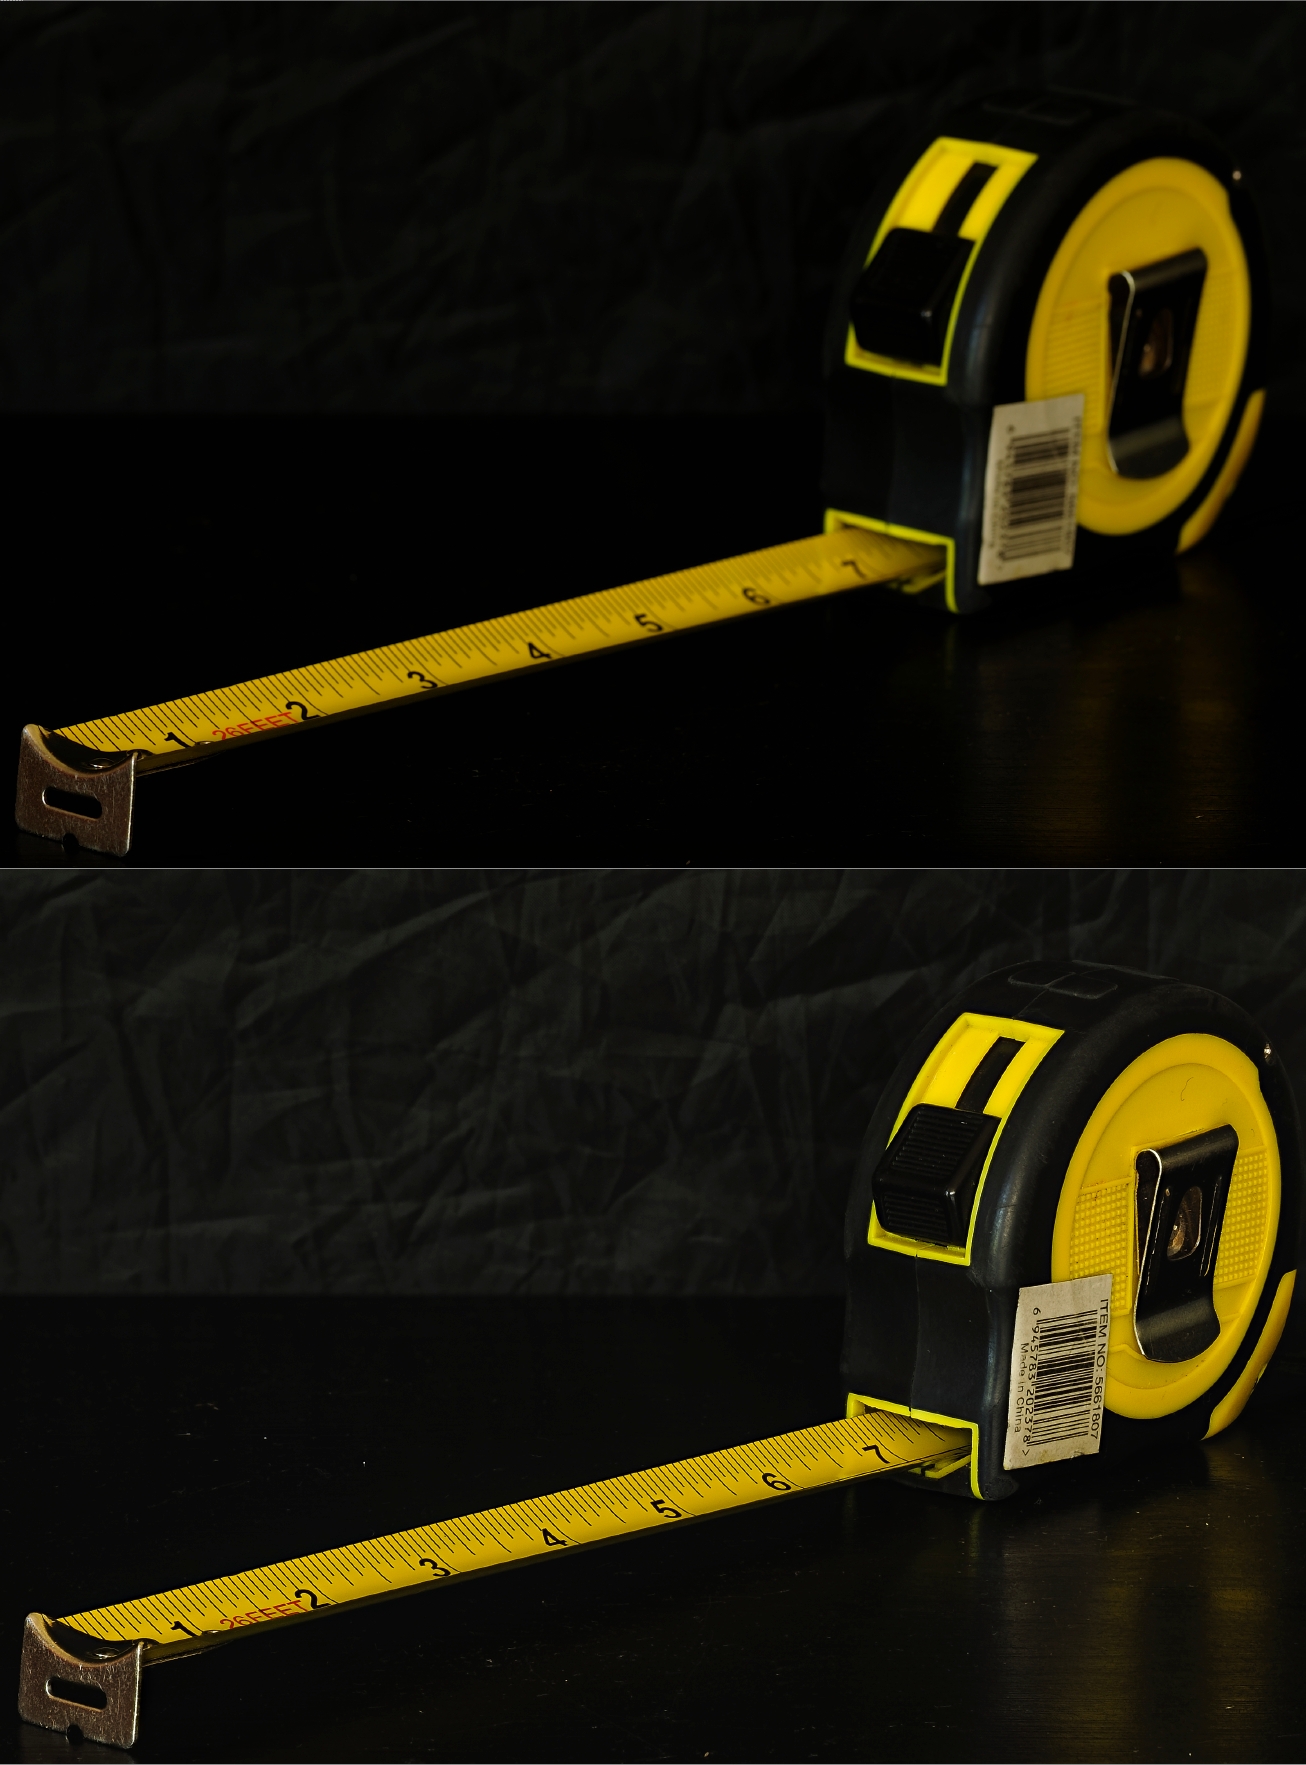
Still do not understand the concept, then refer to the image, below. The upper tape measure I had focused on 1 inch. Everything aft of 1 inch is out of focus. Then, I focussed on 3 inches, then 5 inches, then 7 inches. Everything on either side of 3 and 5 inches was out of focus, if only slightly and then everything forward of 7 inches was out of focus. Lastly, I focussed just aft of the belt clip. I blended the focus for five separate images to get the bottom image of the tape measure, where everything is in focus, from to back.

